Guide for installing and configuring wallet for Windows 64 bit
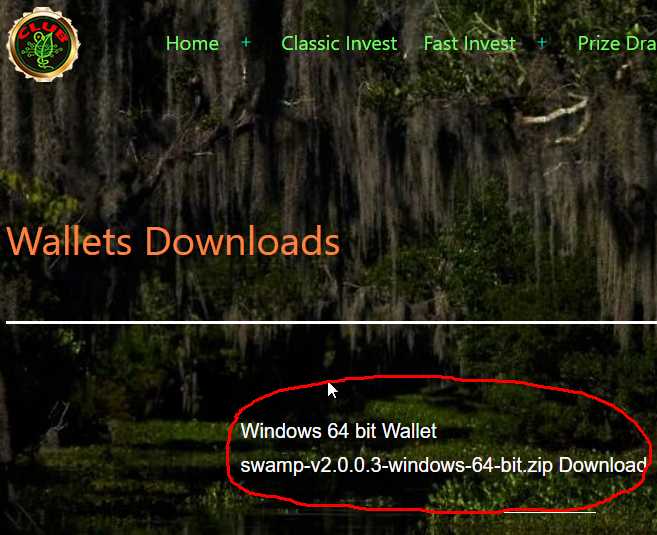
1. Go to the website swampcoin.club, and click on “Wallets Downloads”, after which page with a list of wallet versions will open.
2. Then click on “swamp-v2.0.0.3-windows-64-bit.zip Download”, after which the file for installing the wallet will begin to download.
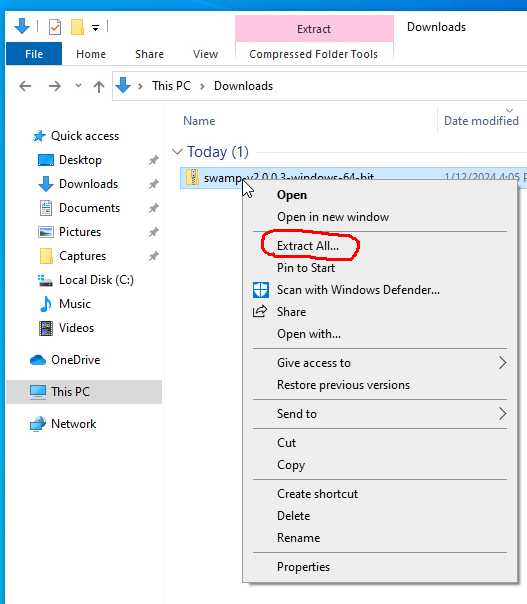
3. By default the file will be saved on the computer in the “Downloads” folder.
4. Then right-click on the file and then in the menu that appears, click on “Extract All…”
5. In the window that opens, click “Extract”
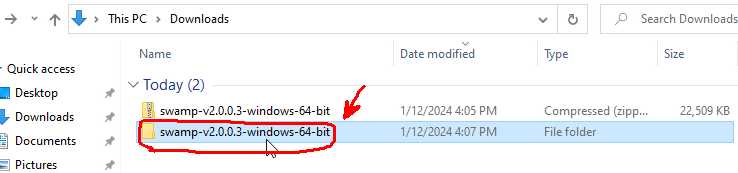
6. After which the folder with the wallet files will be unpacked and will appear below the file we downloaded earlier
7. Then right-click and then in the menu that opens click “Cut”
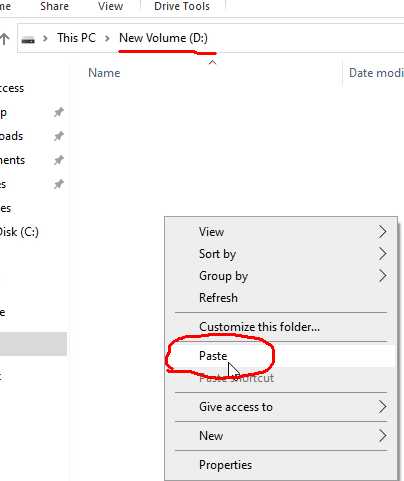
8. Then need to move the wallet folder to a suitable storage location. For example, let this be local drive D
9. Means go to this disk, then right-click in the window and click “Paste” in the drop-down menu.
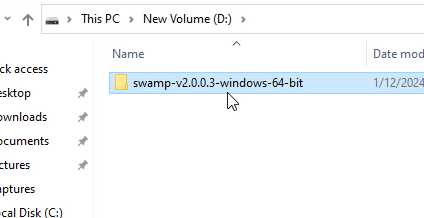
10. After this action, the wallet folder will move to drive D
11. Then open this folder and then another folder named “qt”
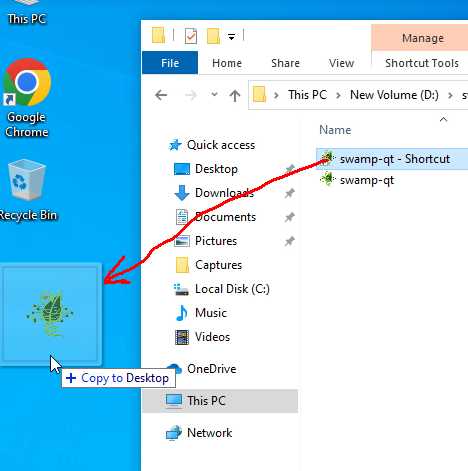
12. In the “qt” folder there is a wallet launch file, for ease of use, let’s create a launch shortcut: right-click on the file in the drop-down menu and click “Create shortcut”
13. Then drag the created launch shortcut to the desktop
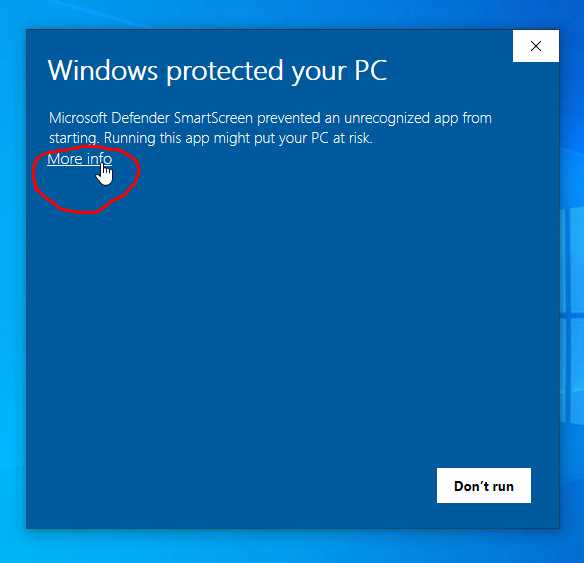
14. Now let’s launch the wallet by double clicking on the shortcut. A Windows warning window will then open, but don’t worry, it’s not malware. This warning exists because the wallet program is open source and does not have a digital signature according to Microsoft standards. Then click on “More info”
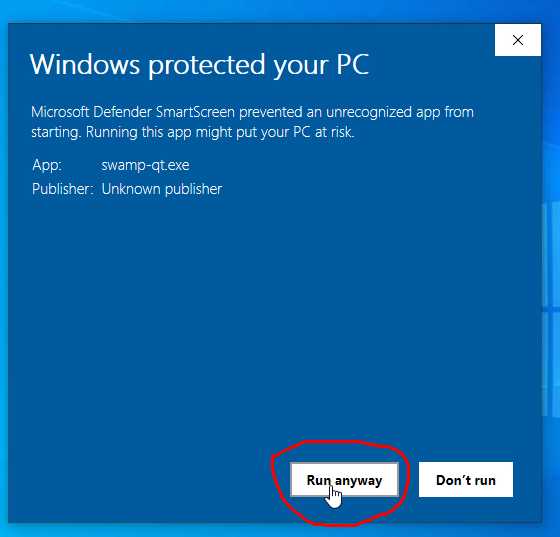
15. Now click on “Run Anyway”
16. Then the wallet window will open, where it will offer a choice of installation path for “Swampcoin Core”, this is the folder where the blockchain and wallet data files will be located. For example, let’s continue with the default installation: that is, click “Ok”
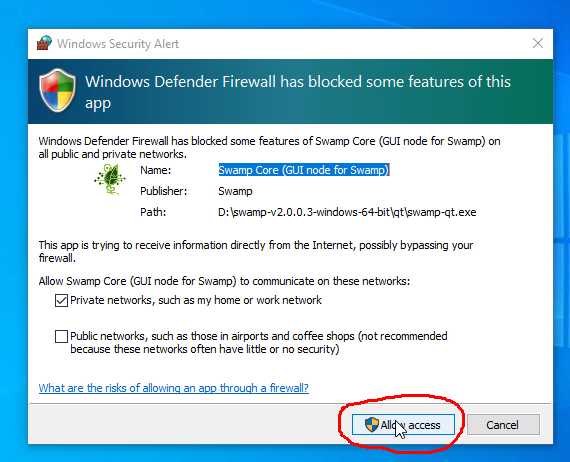
17. Then a window will open to allow you to use the network. Click “Allow Access”
18. Next step will open the wallet window. now we need to add actual list of nodes.
Guide to adding actual node list
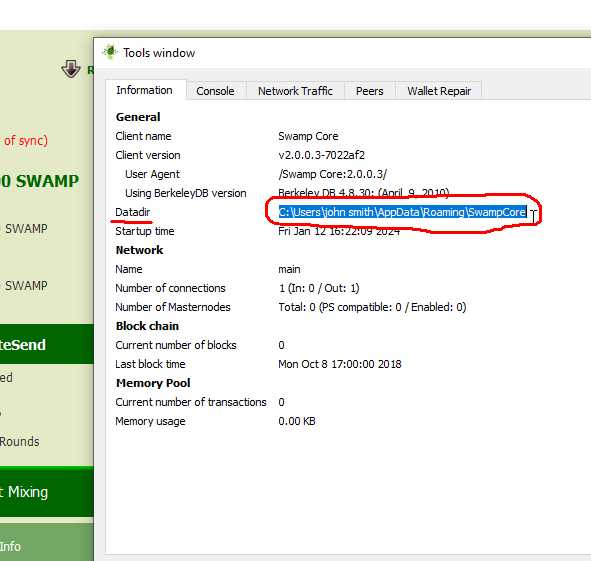
1. First, to add nodes, we need to open the working folder of the wallet. To see the path to this folder, click on “Tools” and then in the drop-down menu on “information”
2. In the window that opens, select the path line
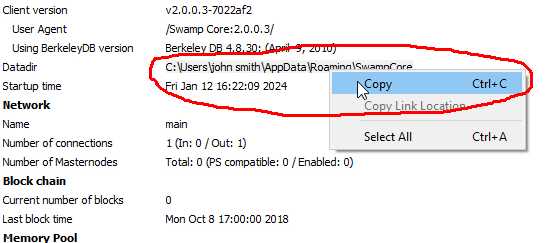
3. Hover the mouse over the selected line, then right-click and “copy”
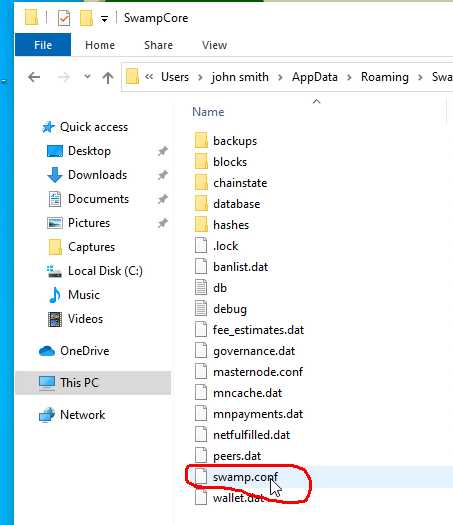
4. Then go to any window on your computer and paste it into the path line. After that, in this window we will see the contents of the wallet’s working folder.
5. Then double click open the file “swamp.conf”
6. Then a window will open asking which application to open the file with. Click “More Apps”
7. Here we selectonly “Notepad”!and nothing else. Attention !!! If you edit this file using text editors such as WordPad or Microsoft Word, the file will be saved in the wrong format and this will lead to an error in the wallet application, that is, the wallet will not start
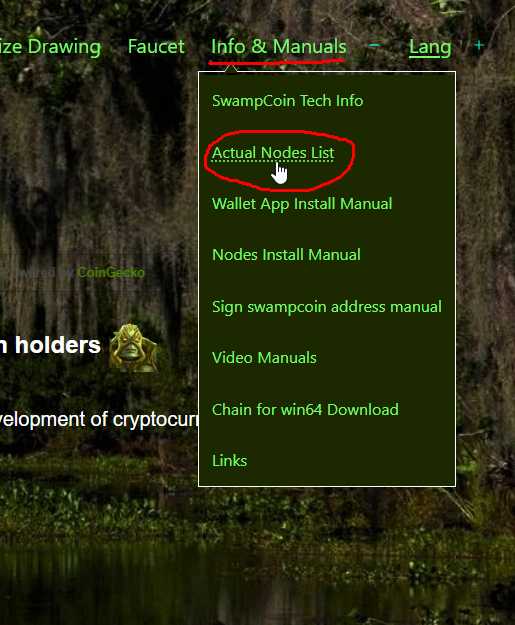
8. Next step is to go to the website swampcoin.club, then to “Info & Manuals” menu and in the submenu click on “Actual Nodes List”
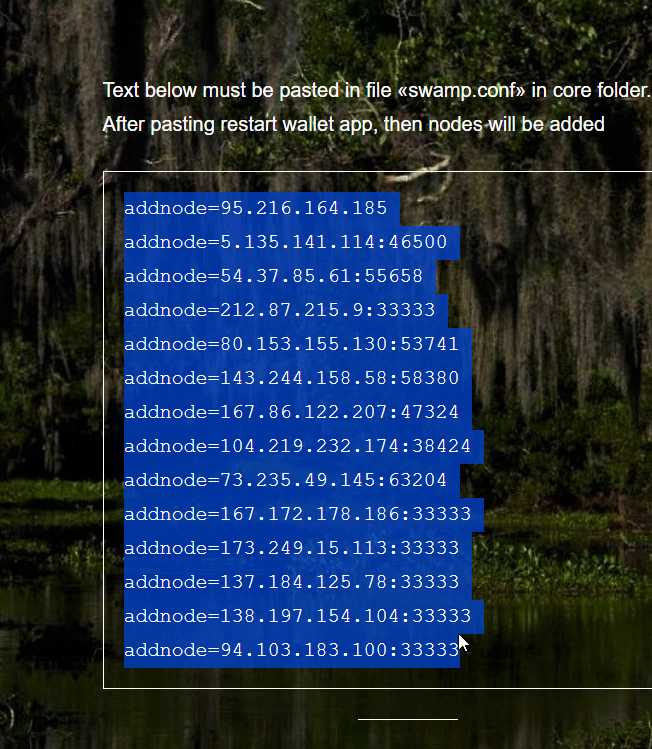
9. Then in window that opens, select list of nodes and copy it to clipboard (right click and “copy”)
10. Then we return to the “swampcoin.conf” window open in notepad and then paste (right click and “Paste”) the copied list of nodes there. Close notepad and click on “Save”
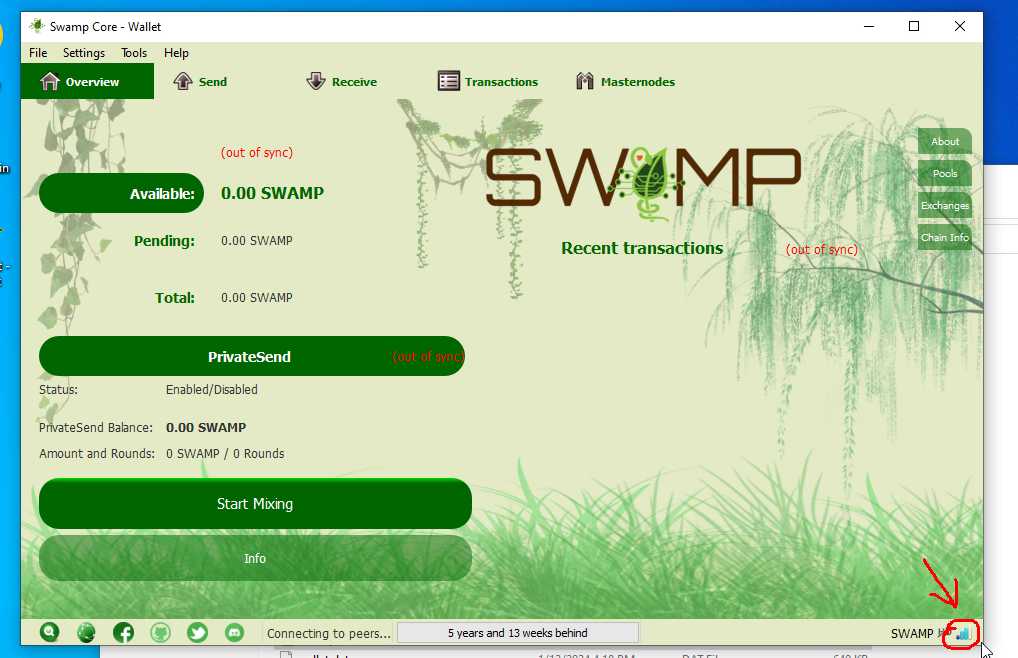
11. After this, restart wallet application. After restarting, we should see blue network indicator “sticks” in the lower right corner of application window. Now we need to wait for wallet to synchronize with blockchain network
How to speed up the first synchronization after installing a wallet – described in a detailed guide in another articleon this site.